4.23.2011

Broomhill NSP Blog Part 2

Welcome to the second part of my blog. I may as well get straight to it, it's the start of April and time to weld the two halves of my sculpture together. I have chosen to do this by welding a metal 'tie' between the the two internal frames.
Above: Here you can see how I have welded the frames together and painted the steel tie with red oxide to protect the frame from rust.
Below: This is my setup for welding the sculpture. It is up on blocks so that I can gain access to the inside, this allows me to have 4 weld points; 1 in the face hole, 1 in the side hole, and 2 at the base.

4.22.2011

Making the Base

I want to make the base so that it matches the aesthetics of the face porthole. I had a look around the workshop and found some left over tread plate.
This piece of plate was long enough but slightly too small in width, so using the plasma cutter and welder I was able to re-adjust the dimensions to accommodate the shape I needed.(below is the plate roughly being cut to size.)

Below: I set about making a paper template using basic photoshop and mathematics so that I could check the sizing against the sculpture. I also used this template to mark out the exact points at which to drill my bolt holes.

Above: This is the steel plate being drilled. you can just about make out the centre point of the steel, the circle in the middle shows where I will cut away the excess metal to reduce weight and to give me access to the inside of the sculpture at a later date.
These pictures above show the details that I have cut into the plate to help to bring the base and body together aesthetically.
The base plate.

4.21.2011

Base (continued)

Above: These images show how the base detail works against the body detail. The images below show how I have attached the bolts to the base, the holes are counter sunk on the under side to accomodate the welds.
Above: This is one of the 16 bolts that are in the base; 12 of the bolts are welded in place and are only for aesthetics; the four that are left will be used to fix the sculpture to the plinth. 

    
Above: These are the bolts tack welded into place, the excess bolt thread will be cut off with a grinder. 
Above: Once the excess thread was cut off I was able to weld the bolts permenantly, the excess weld was ground back slightly to flatten off the underside of the base plate.

Finished base, treated and ready to weld to the sculpture.

4.20.2011

Seam line time


Earlier on, I was toying with the idea of painting the seam to give the impression of an interior. The seam has been prepared for painting, masking tape will give me a clean line all along the seam. I have left approx 5mm on each side of the seam and I will paint it with red Hammerite.


Here you can see the fruits of my labour. I don't like it. The bright red is too domineering for this piece, and detracts from the bronze. I will have to take it back to metal and perhaps give the red oxide another go, as it is more brown in colour and less obvious.


4.19.2011

Welding the base on

Having decided to make a base there is no need for the lugs, these were originally going to be the fixing points for the sculpture.

This is the base welded into place. You can see the red has been taken back, the best tool for this was a butter knife? You can also see the holes left for the fixing bolts.


4.18.2011

April 18th - 21st

One of the things I want to tackle this week is fixing the face into place once and for all. To secure the face it needs to be bolted to the body. The problem I have is that I can not get into the body to tighten the nuts to the bolts.
The only access I have is through the hole in the side of the sculpture, the problem is that I cannot get my hand inside so I have fashioned this tool; spanner, cable ties, pipe. done. By placing a little masking tape into the jaws of the spanner I am able to hold the nut in place without it falling off inside the sculpture.

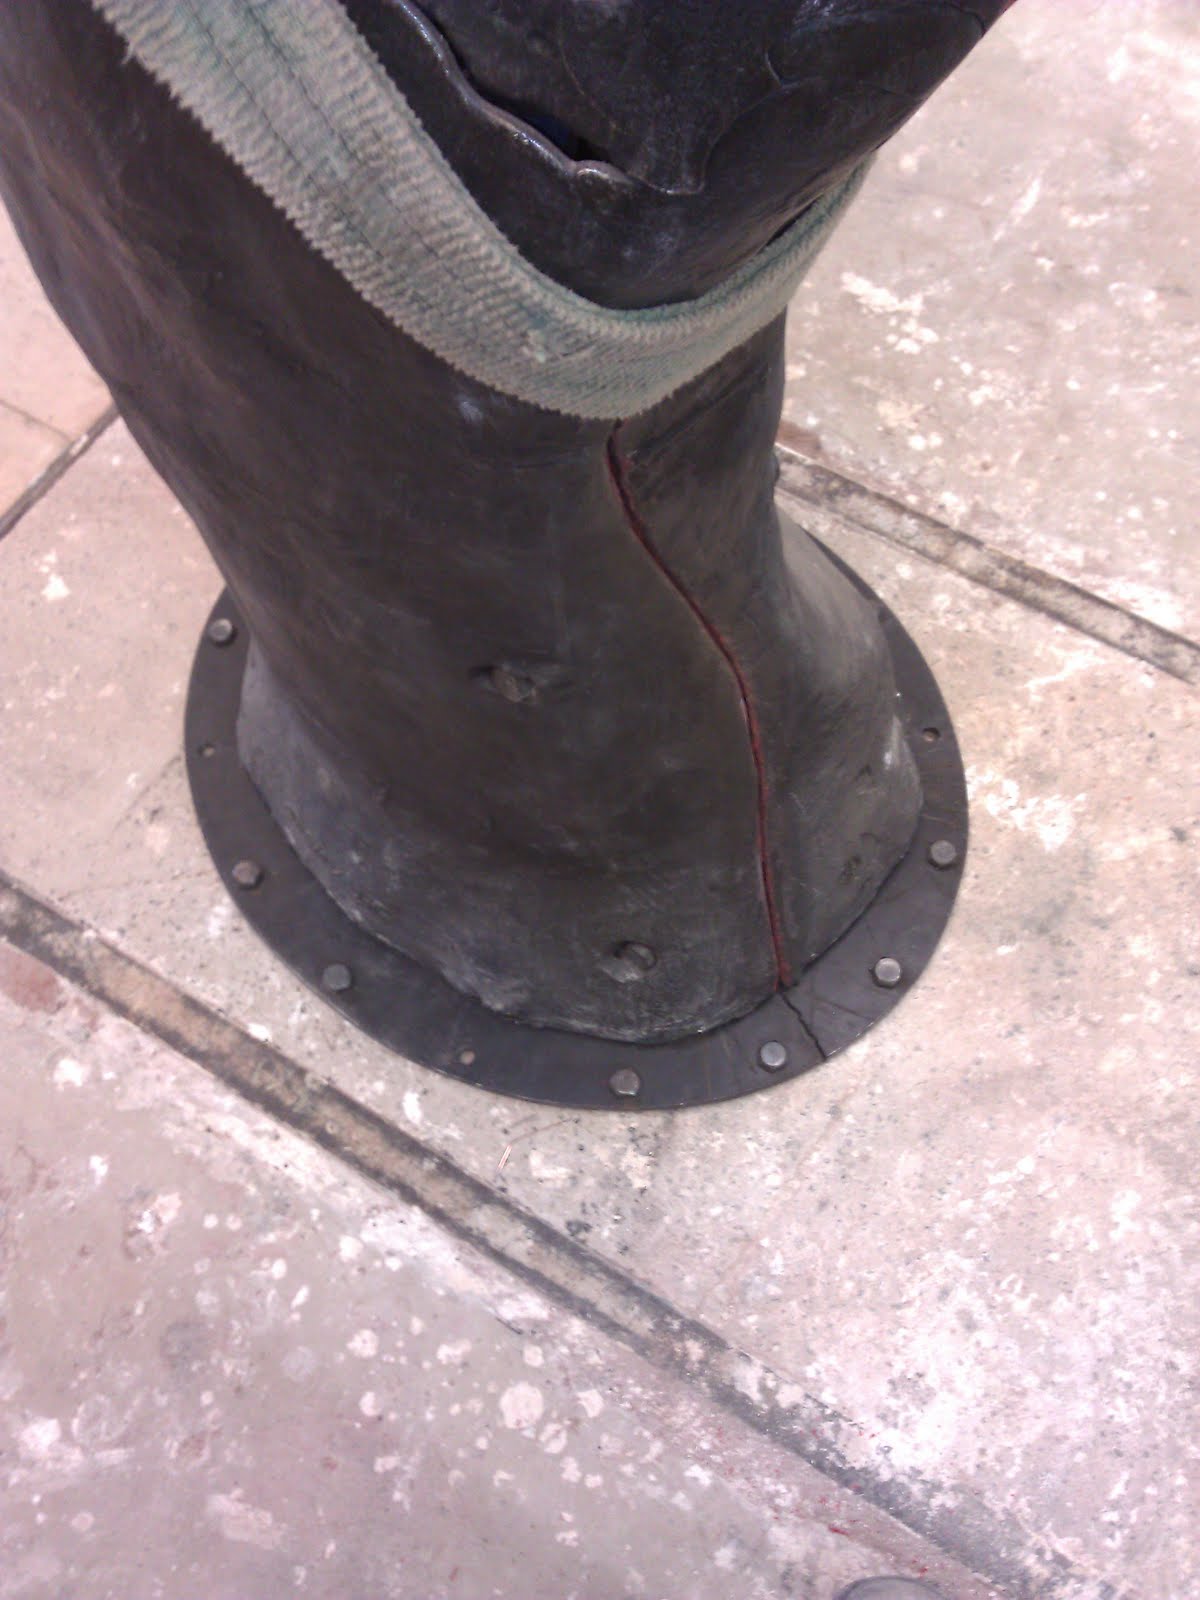
Now to the side detail. With the face fixed in place I can finally finish off the sculpture, with the last thing being the need to close up the side hole.
To start off this process I have welded steel 'ribs' to the internal frame, my plan is to rivet copper to these ribs so they have been pre-drilled. 

Now to fold forming. Using old bits of copper tank and paper templates I have started to cut squares of copper to form what will be 'bandage' detail for the exposed gap in the sculpture.
I'm no expert but fold forming is a fairly straight forward process. Firstly you take sheet copper, and heat it to just about red hot and quench it suddenly in water (anealing). By doing this the metal becomes more pliable and 'soft'. The copper is then folded and hammered. Hammering makes a permanent crease in the metal but makes it  rigid again so the anealing process needs to be repeated. My aim is to have two or three folds in each square.

  
Unfolding the metal reveals the creases. Hopefully the slighlty angular lines will make it read as 'wrappings'. The sheets are then curved so that they will look like there is something within.


4.17.2011

Rivetting Copper

The important thing to me about applying the copper is that I do not want to be able to see the rivets after, so I have devised a plan; each layer of copper should hide the rivets from the previous layer...
There are to be three rivetts in total, so you can see above the first piece of copper rivetted in place, with the second sheet hiding the first rivet...
                                  
This piece of copper is the last piece of four, and is designed to hold the third piece of copper in place but hiding the rivet..with me still?
Above: on the left the fourth piece of copper is rivetted into place and holds the third piece of copper. It had to have a bend in it to accomodate the riveter, in the image on the right I have hammered down the fold to hide the rivet, this was very fiddly to work out and took three attempts but I am pleased with the result, I just need to treat the copper now with verd degris patina to make it go green.

Hopefully the effect of the folded copper gives the impression that there is a wrapped figure within the sculpture.

4.16.2011

Publicity Photos (Early April)

Here are some of the publicity photos of me and my sculpture. As I work as part of Coleg Sir Gar they were willing to send a photographer to take my picture for use in the local newspapers. Amanda R (marketing officer) was also asked if she could write an article for me to accompany my images.

Although embarassing I took every opportunity to get my mug around, as the publicity was free I would have been a fool to turn it down. Here are some links to the places I featured:


4.15.2011

Broomhill Recon (Easter Break)

During the Easter Break I took the opportunity to visit Broomhill. The journey took four hours from west Wales (typically Broomhill is directly beneath my villiage on the map, and would probably only take an hour across the water) during my recon I was able to have a meeting with Rinus and we discussed possible installation sites. I had not been to Broomhill before so I wasn't sure what to expect, I had a clear idea in my head as to how I wanted to display my piece; I wanted an area that was either near water, covered by trees or at the end of a passageway. Rinus and I had quick wander around the competition site and I found a suitable area.

This area is perfect for what I need. I like the idea that the sculpture is near a pond, part of the concept for my piece is that it could be a discovered relic, or a marker of some kind. One thing I need to finish my sculpture is a plinth, Rinus said he was willing and able to construct a plinth for me. After my trip I went home and used the images above to make a basic photoshop impression of my desired plinth.


4.13.2011

Studio Shots (Thurs 5th May)

I am after some decent images of my finished sculpture to use in postcards. Today I took my sculpture into the photography department of the college and was helped by John (photography technician) to get some great studio shots. I needed to get the sculpture in the studio so I used the wheely trolly and the engine hoist.
 

With the engine hoist it is fairly easy to lift the 300+lbs of sculpture. I placed it as softly as I could onto the grey backdrop paper. John and I discussed lighting and he set up some spots and flashes.


Above: These are just quick images I took with my phone but below is one of the images John took and is the one that I used to put on my postcards for the competition.

To view more of my Broomhill blog click on the     'Older Posts'        link below.